Homemade Peanut Butter Dog Treats That Dogs Love
It All Started with a Peanut Butter Disaster
Oh boy, let me tell you about the peanut butter saga that changed everything for me. One sunny afternoon, I decided it was high time I spoiled my canine companions. You know, they deserve it after all the times they’ve barked at the mailman or feigned interest in the squirrels outside. So, I rummaged through my kitchen, searching for inspiration. Armed with a jar of creamy peanut butter (one that I would later learn was not just a refrigerator resident) and a ethereal vision of dog treats, I went on a culinary adventure.
As I whipped up what I thought would be the best treats in the entire doggy universe, I was even channelling my inner Martha Stewart—whatever that looks like! But then, Murphy’s Law came knocking. I must’ve added too much peanut butter, because the dough turned into a sticky mess that could’ve rivaled the gum on a hot sidewalk. My dogs, on the other hand, were rushing around me like they had just hit the jackpot. I finally managed to sprinkle some flour in the mix (after my second dog dove into the bag, of course). With a little elbow grease and a lot of canine motivation, the treats finally took shape.
All that effort paid off big time when my two pups, Max and Bella, inhaled those treats like they had just won the canine lottery! Their wagging tails and gleeful barks said it all. From that day on, I knew I had unlocked the golden ticket to my dogs’ hearts. So buckle up, because I’m about to spill the beans on my deliciously simple Homemade Peanut Butter Dog Treats that made me the unofficial dog chef in my household!
Reasons Why This Dog Food Recipe Is the Best
- It’s ridiculously easy to make – You don’t need to be a kitchen wizard to pull this off! Seriously, if you can open a jar of peanut butter, you’re already halfway there. No more late-night runs to the store because your dog decided a sock looked tastier than any dry kibble!
- It’s impressively delicious – Don’t be shocked if your friends think you hired a personal chef. If it weren’t for the fact that I actually have the furriest critics in town, my dog treats could easily fool the toughest culinary enthusiasts. The aroma wafting through the air is enough to have everyone (including my cat) begging for a taste.
- It’s comforting – This recipe provides that warm and fuzzy feeling, like using Grandma’s old blanket on a chilly night. There’s just something about making wholesome food for my pups that melts my heart—and theirs, too, I think. Plus, when I make these treats, I feel like I’m giving them a big hug from the inside out.
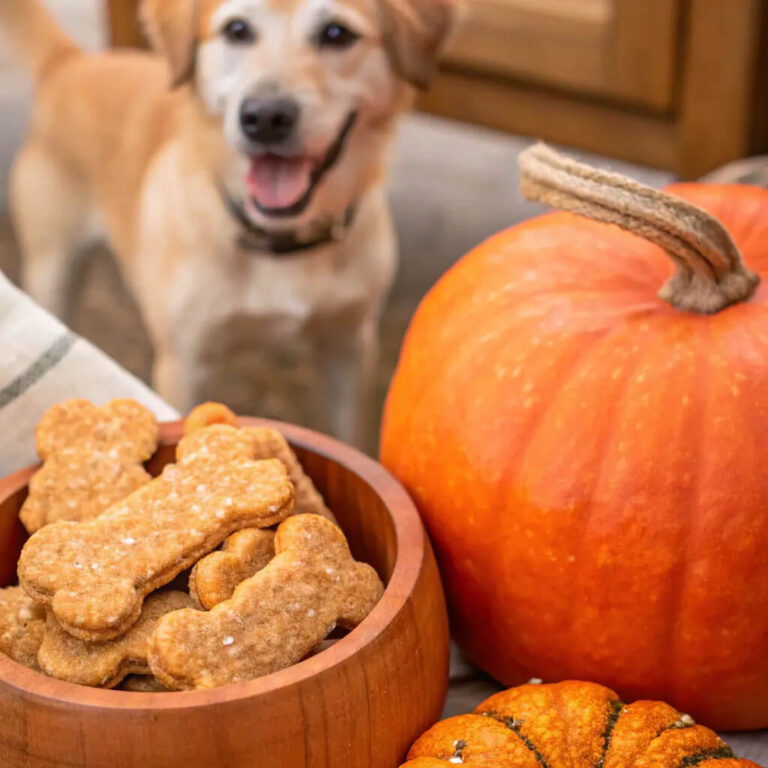
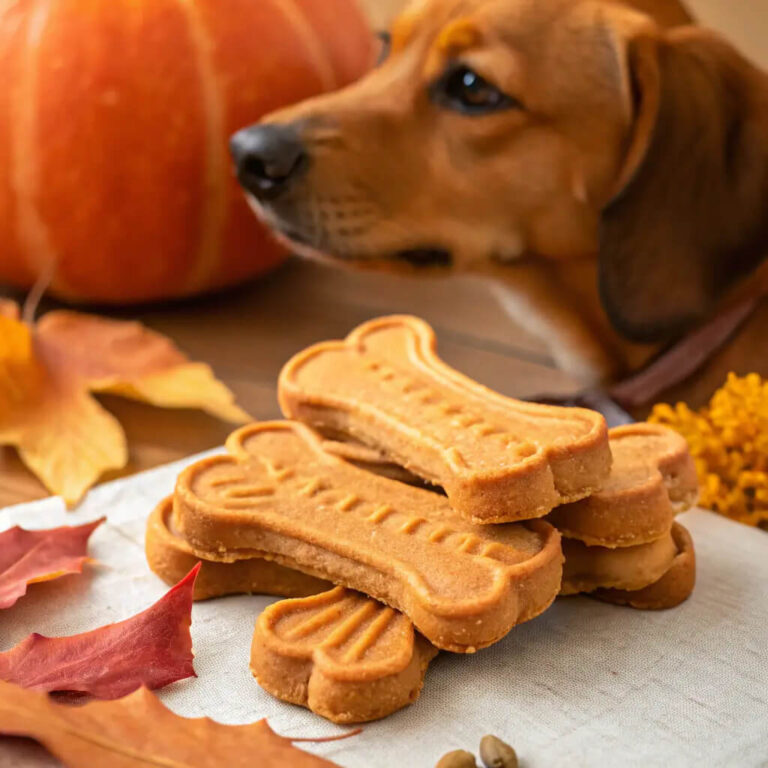
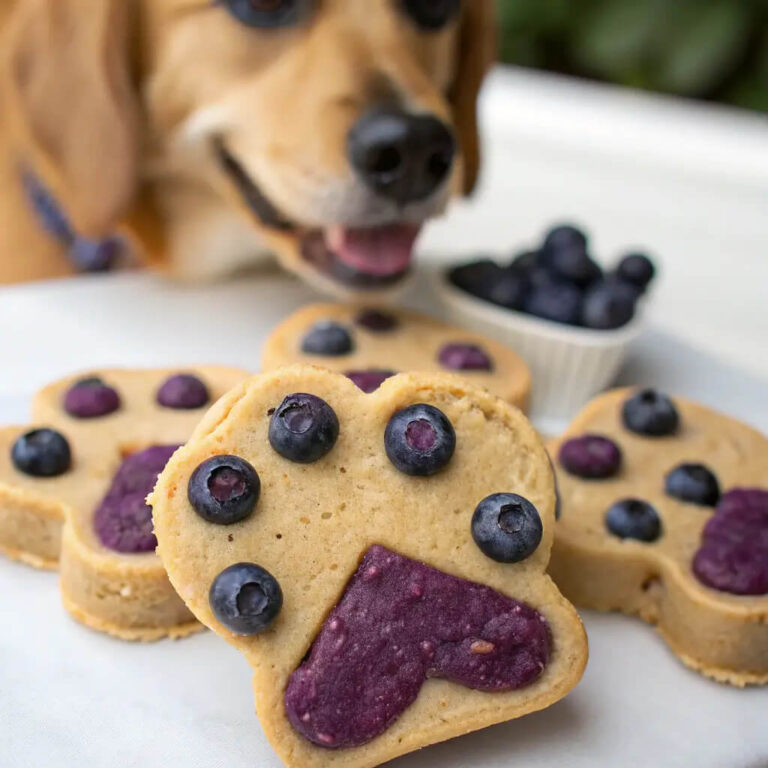
- It’s customizable – Feeling creative? Switch up the ingredients, making it a DIY dog treat extravaganza! Add pumpkin for a fall flavor, or get funky with sweet potato. My dogs haven’t complained yet, and their tails keep wagging, so I must be doing something right!
- It’s guilt-free – I mean, who doesn’t want to indulge their pups without breaking the bank or the scale? With all-natural ingredients, I can be the cool dog mom who gives treats on repeat, while knowing I’m keeping their health in check. That’s a win-win, right?
Preparation & Cooking Time
- Total Time: 45 minutes
- Preparation Time: 15 minutes
- Cooking Time: 30 minutes
- Servings: Approximately 20 treats
- Calories per serving: Approximately 50 calories
- Key Nutrients: Protein: 3g
- Carbs: 6g
- Fat: 2g
Ingredients You Need
Let’s gear up for a fetching adventure! You’ll need a few simple ingredients, and I promise it’ll feel like a weekend shopping spree. So grab your reusable bags and let’s hit the kitchen aisle!
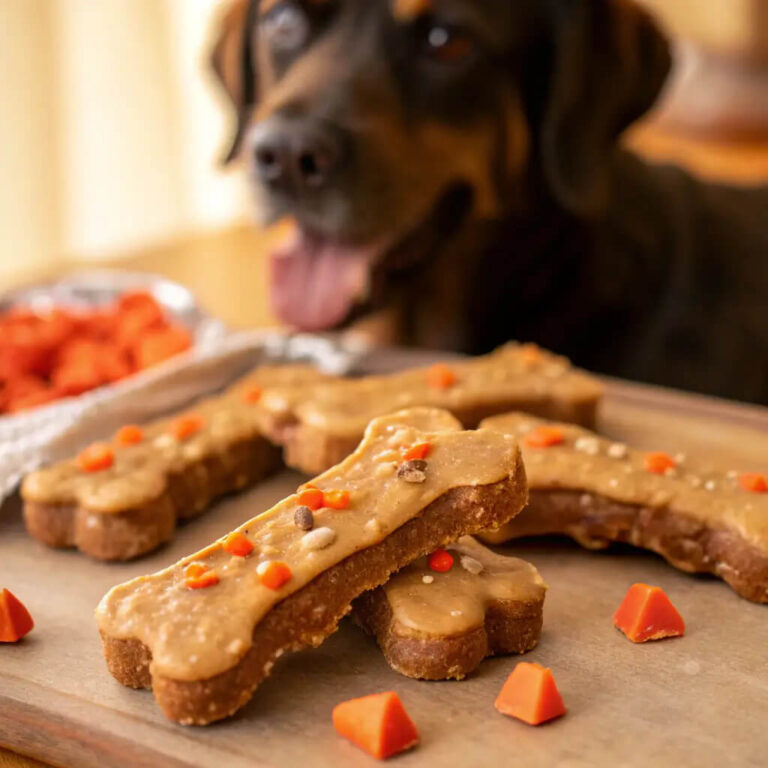
- 2 cups of whole wheat flour – This is the staple that brings everyone together!
- 1/2 cup of creamy peanut butter – The star of the show. No crunchy nonsense, please—my dogs deserve the best!
- 1/4 cup of chicken broth – Yep, my secret weapon for flavor—a little something to make the treats drool-worthy.
- 1 egg – The binding buddy that holds the whole magical dream together.
- Optional extras, like a pinch of cinnamon or parsley – Just to sprinkle in some extra good vibes (and flavor!).
Ingredient Highlights & Variations
Let’s dive into the magical world of our beloved ingredients!
- Whole Wheat Flour: A great source of fiber plus it keeps things exciting for your pup’s digestive system. You could even swap it for oat flour if your dog needs a gluten-free option—after all, we want to cater to our furry friends’ dietary quirks.
- Peanut Butter: It’s not just for humans! This creamy delight is protein-packed and gives your pups a natural energy boost. But fun fact—just make sure it doesn’t contain xylitol, a sweetener that’s toxic for dogs. Trust me, read the label, or you might end up having one very sick pup!
- Chicken Broth: We’re talking about a flavor explosion here! Use low-sodium or homemade broth because even dogs can have salt-sensitive hearts. Want to kick it up a notch? Use beef broth too!
- The Egg: Aside from holding everything together like duct tape in my DIY projects, eggs are an excellent source of protein and can promote a shiny coat. Plus, they double as a fantastic breakfast for me on one of those rare occasions!
- Cinnamon or Parsley: Not only do they add a lovely aroma to your kitchen, but they also have health benefits for your dogs. You’ll feel like Mother Nature, spreading joy and health through dog treats!
Step-by-Step Instructions
Alright, cooking time! Let’s gather those ingredients like excited pups waiting for their walks and get down to business with a little humor along the way.
- Step 1: Preheat your oven to 350 degrees F. Yep, we’re warming things up in here, just like the cozy cuddle of your furry friend.
- Step 2: In a mixing bowl, combine the whole wheat flour, peanut butter, chicken broth, and the egg. Now channel your inner bard and sing a little as you mix—it might just help the treats taste better!
- Step 3: If you’re feeling adventurous, toss in those optional extras now. Who doesn’t love a little pizzazz?
- Step 4: Knead the dough until it’s nice and smooth—get in there like you’re fighting off a pesky squirrel. Just make sure to flour your work surface, or you might need to call in a flour rescue team!
- Step 5: Roll out the dough to about 1/4 inch thickness. Feel free to channel that rolling pin aggression; you’ve earned it!
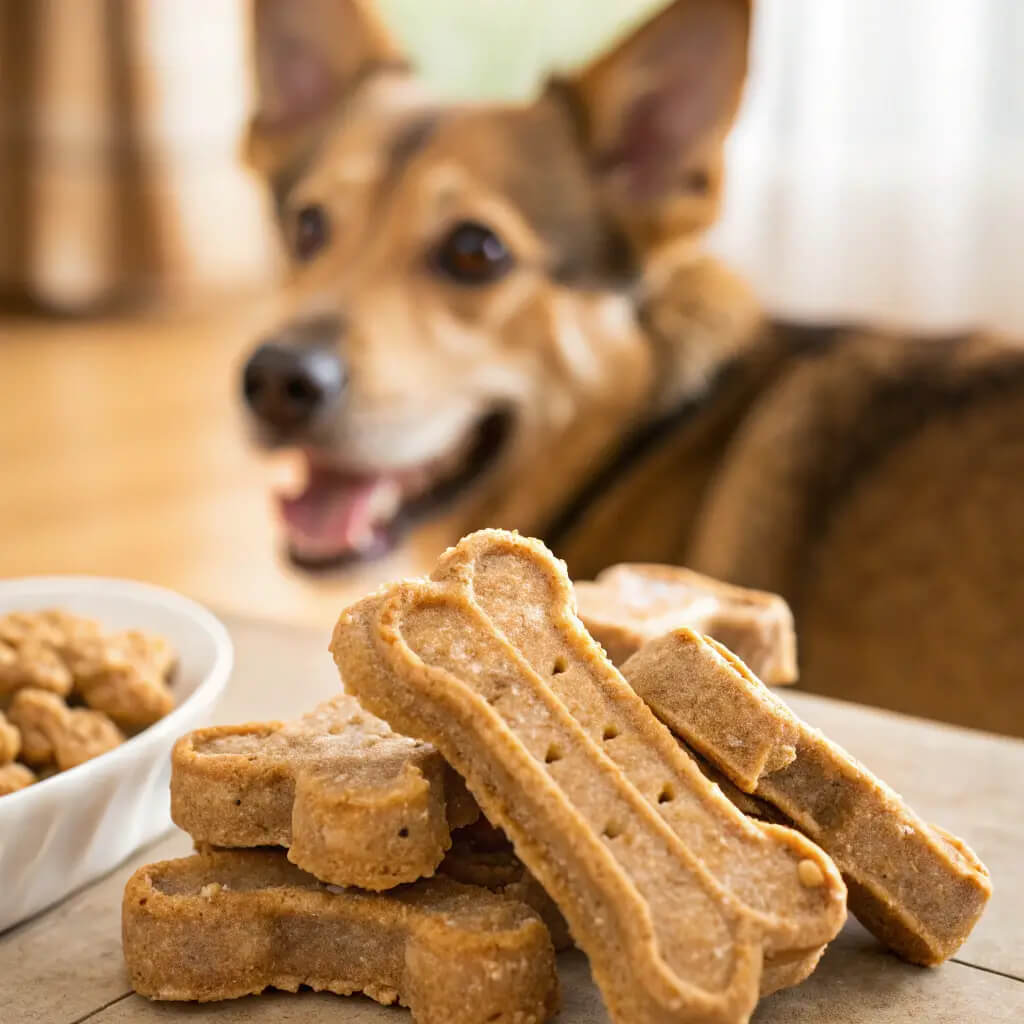
- Step 6: Cut shapes with your favorite cookie cutter. I always reach for the dog bones, but hey, a heart shape never hurt anyone, right? Throw a few at your neighbor’s dog for fun!
- Step 7: Place the cut-outs on a parchment-lined baking sheet. Bake for about 30 minutes until golden and crispy. Your kitchen will smell so good you might forget it’s dog food!
- Step 8: Let the treats cool completely. This is the hardest part—try not to munch on one yourself!
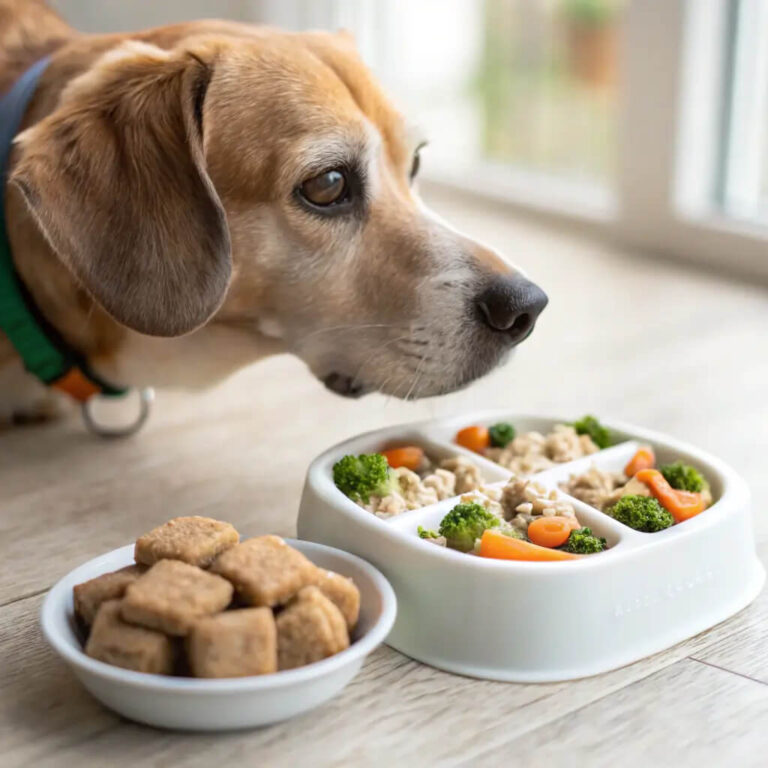
- Step 9: Serve the treats in a fancy plate or a simple jar. They deserve the best presentation, of course.
How to Serve It
Now comes the fun part—serving! That’s right; we’re putting on a little show for our four-legged friends.
- Serve it with a smile! You’ve earned it. Watch them wag their tails as they see those tasty treats!
- Garnish with a sprinkle of parsley for a pop of color—yes, we’re officially fancy dog chefs now.
- Pair it with a chew toy when serving. Every dog loves treats and toys like peanut butter and jelly—can’t have one without the other!
- If you’re feeling generous, create a treat jar gift for your doggo’s best bud. Make their day by sharing the love!
- Set the mood by playing some soft music while you serve. It’s all about ambiance, even if it’s just you and your pups sharing a moment together!
FAQ
- Can I use regular peanut butter? Yes, but skip the ones with xylitol! A natural peanut butter without extra ingredients is your best bet. Your dog’s nose will thank you.
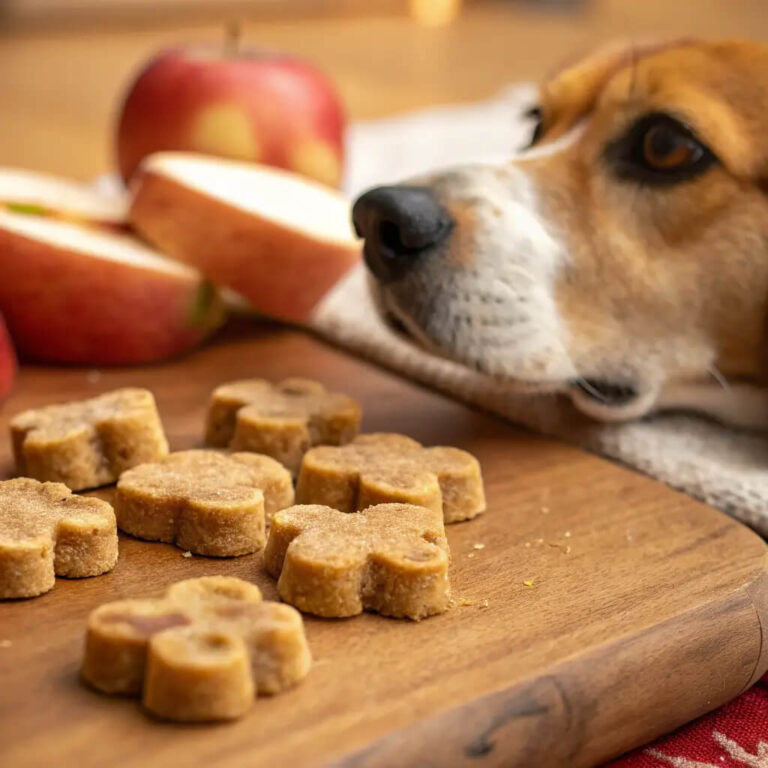
- What if I want to add flavor twists? Go for it! Try mashed bananas or grated carrots for a different taste explosion. Your dog will thank you with lots of sloppy kisses!
- Can I freeze these treats? Absolutely! Just pop them in an airtight container. It’ll be like a doggy treasure chest that your pups will dig into later to be spoiled all over again!
- How long will they last? These treats can last up to two weeks in an airtight container. But let’s be real; they won’t last that long in my house!
- Can I use a different type of flour? Sure thing! You can get creative with oat flour or even coconut flour—prepare for a taste of adventure.
So, What Are You Waiting For?
There you have it—a step-by-step guide to spoiling your pups with homemade peanut butter treats that they’re bound to adore. I’d love for you to try these out and witness the sheer joy in your dogs’ eyes as they gobble them up. While they may have different personalities—like Max, who is always impatient, and Bella, who takes her sweet time—you can bet they’ll be united in treat enjoyment! Share your results, drop some doggy photos, and maybe recount a funny cooking fiasco in the comments. It’s like a potluck in my kitchen, and the invite is for all dog lovers out there—furry friends included!